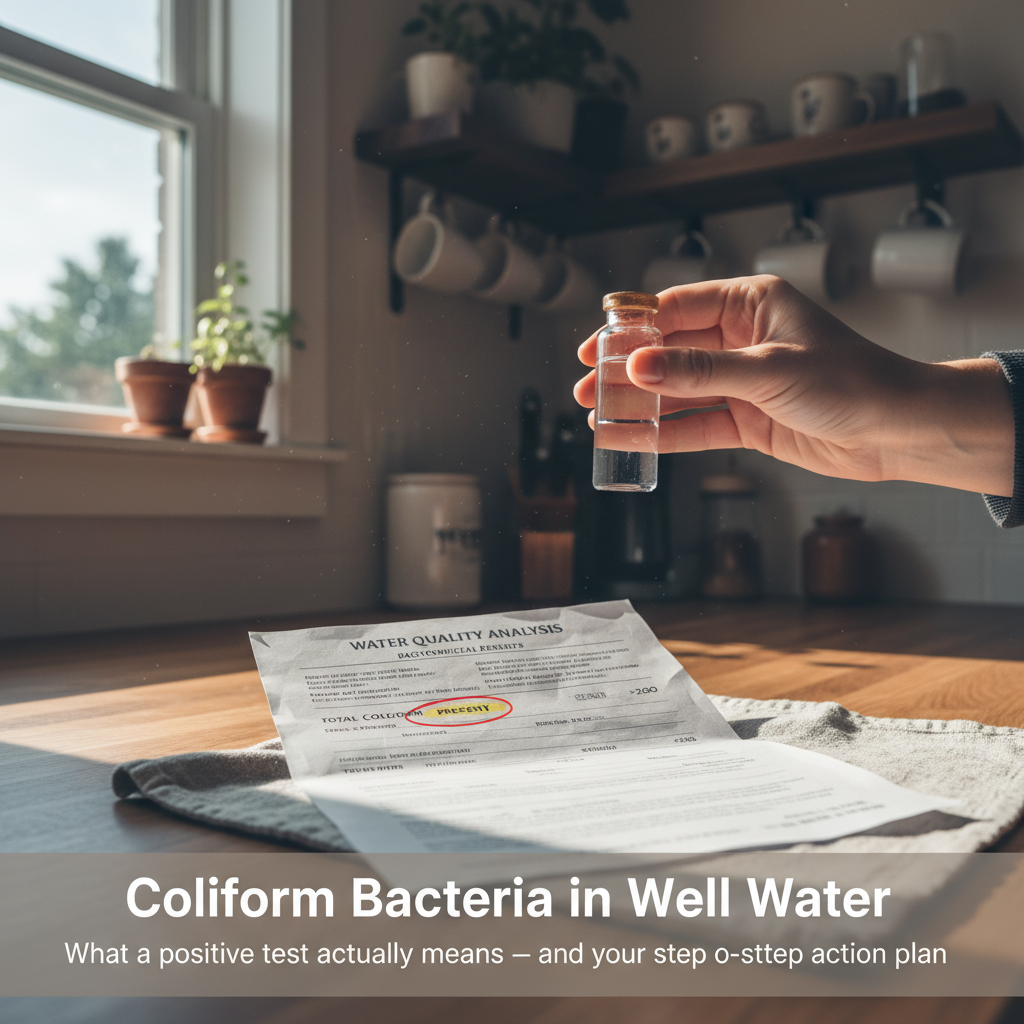
Coliform bacteria in well water: what it means and immediate steps
Updated February 19, 2026 — 10 min read
A positive coliform test means bacteria have found a way into your well. It does not mean you’re going to get sick tonight. Total coliform bacteria are mostly harmless on their own — they live in soil, on leaves, in surface water. But their presence in your well is a warning sign: a pathway exists for contamination, and the things that can make you sick may be using the same entrance.
If your lab report also shows E. coli, that’s different. E. coli means fecal contamination — animal or human waste is reaching your water supply. That requires immediate action.
Here’s what to do, what it all means, and how to fix it permanently.
Don’t panic, but don’t ignore it
About 1 in 4 private wells test positive for total coliform in state-level surveys. A Penn State study of 450 wells found 35% positive for coliform and 15% positive for E. coli. A 2025 USGS study in Wisconsin found human fecal microbes in 46% of the private wells they tested. You are not alone, and this is fixable.
But here’s why you can’t just shrug it off: coliform bacteria are indicator organisms. They’re the canary in the coal mine. Their presence means surface water, soil, or waste is getting into a system that’s supposed to be sealed. The bacteria themselves may not hurt you, but the viruses, parasites, and pathogenic bacteria that travel the same route absolutely can. Giardia, Cryptosporidium, pathogenic E. coli strains — these are the real threats, and a standard coliform test is the early warning system.
The tricky part: contaminated well water usually looks, tastes, and smells completely normal. You won’t know unless you test.
Read your lab report: total coliform vs. E. coli
Your lab report will show results for two things. Understanding the difference determines how urgently you need to act.
| Test result | What it means | Urgency |
|---|---|---|
| Total coliform: absent, E. coli: absent | Clean. No action needed. | None |
| Total coliform: present, E. coli: absent | A contamination pathway exists. Likely surface water intrusion, soil bacteria, or a well integrity issue. | Moderate — act within a week |
| Total coliform: present, E. coli: present | Fecal contamination confirmed. Animal or human waste is entering your water supply. | High — stop drinking the water immediately |
If E. coli is present: Switch to bottled water right now. Not tomorrow, not after you confirm with a retest. Now. Use bottled water for drinking, cooking, brushing teeth, and making ice. You can still shower and do laundry — the risk is from ingestion, not skin contact.
If only total coliform is present (no E. coli): The risk is lower, but don’t drink untreated water if you have infants, elderly family members, or anyone with a compromised immune system in the household. For healthy adults, the short-term risk from total coliform alone is minimal, but you still need to find and fix the contamination source.
False positives happen
A dirty sample bottle, a faucet that wasn’t sterilized before collection, or a sample that got too warm during shipping can all produce a false positive. If you got a positive result, confirm it before tearing your well apart. Collect a new sample following proper protocol: sterilize the faucet with a flame or bleach wipe, run cold water for 2-3 minutes, fill the sterile container from the lab without touching the inside, and get it to the lab within 24 hours on ice.
What causes coliform contamination
Bacteria don’t teleport into a sealed well. Something is letting them in. Identifying the entry point is the difference between a one-time fix and an endless cycle of shock chlorination.
Well cap damage. The most common culprit. Cracked, loose, or missing well caps let insects, rodents, and rainwater directly into the casing. I’ve seen spiders nesting inside well caps and mice droppings sitting on top of the casing. If your well cap is damaged or loose, that’s likely your answer.
Insufficient casing height. If your well casing doesn’t extend at least 12 inches above the surrounding ground, surface runoff during heavy rain flows right into the well. Older wells sometimes sit nearly flush with the ground. A casing extension is a straightforward fix.
Cracked or corroded casing. Steel casings rust. PVC casings crack. Either way, groundwater from shallow, contaminated zones seeps into the well through the breach. This is more common in wells over 25 years old.
Failed grout seal. The annular seal between the well casing and the borehole is supposed to prevent surface water from migrating down alongside the casing. If that seal was never installed properly or has deteriorated, contaminated water takes the express lane straight to your aquifer intake.
Septic system proximity. If your septic drain field is within 100 feet of your well, leaching effluent can reach the well through fractured bedrock or sandy soil. The minimum separation distance varies by state, but 100 feet is the most common standard. If your septic system is closer than that, contamination isn’t a question of “if” but “when.”
Recent well work. Pump replacements, casing repairs, or any time the well was opened introduces outside air and potentially contaminated equipment. Every well should be shock chlorinated after service work. If your well tech didn’t do this, there’s your problem.
Flooding or heavy rain. Surface water overwhelms the well’s defenses during extreme weather. Coliform contamination spikes in late spring and early summer across the country for exactly this reason.
Your action plan: step by step
Step 1: confirm the result
Before you do anything else, resample. Follow proper collection protocol (sterilize the faucet, run cold water, use the lab’s sterile container). A retest costs $20-$50 at most state-certified labs. Some county health departments offer free or discounted well water testing.
If the retest comes back clean, you likely had a false positive or a transient contamination event (like a heavy rainstorm). Keep testing annually per your maintenance schedule.
If the retest confirms coliform, move to Step 2.
Step 2: inspect your well
Walk out to your wellhead and look for obvious problems:
- Is the well cap intact and tightly sealed?
- Does the casing extend at least 12 inches above the ground?
- Is the area around the wellhead graded so water drains away from the casing?
- Is there standing water, animal waste, or fertilizer near the wellhead?
- Are there any visible cracks in the casing above ground?
Fix anything you find. A new well cap costs $20-$60 and takes 15 minutes to install. Regrading the soil around the wellhead is an afternoon with a shovel. These are the cheapest, most effective fixes for recurring coliform.
Step 3: shock chlorinate the well
Shock chlorination kills bacteria throughout the entire water system — the well casing, pressure tank, water heater, and all household plumbing. The full protocol involves mixing unscented household bleach to a concentration of 100-200 ppm, pouring it into the well, recirculating with a garden hose, running every faucet until you smell chlorine, and letting it sit for 12-24 hours.
The detailed process is covered in the shock chlorination guide, but here’s the critical part most people miss: fix the entry point first. Shock chlorination without addressing the root cause is like mopping the floor while the faucet is still running. The bacteria will be back.
Step 4: retest and monitor
Wait 7-14 days after flushing the chlorine, then collect a new sample. Don’t drink the water until the lab confirms it’s clean.
If the first retest comes back clean, test again in 2-3 months. A single clean result is encouraging. Two clean results spaced a few months apart means the fix is holding.
Here’s a monitoring schedule after treatment:
| Timeline | Action |
|---|---|
| 7-14 days after treatment | First retest |
| 2-3 months later | Second retest |
| 6 months later | Third retest |
| Annually after that | Routine coliform test as part of annual maintenance |
Step 5: if shock chlorination fails
Be prepared for this possibility. Penn State Extension research found that shock chlorination keeps wells bacteria-free for a full year in only about 15% of cases. It works best when the coliform count was low, no E. coli was present, and the contamination was a one-time event.
If bacteria return after two shock treatments, you have a structural or ongoing contamination problem that bleach can’t solve. At that point, you need either well rehabilitation or a continuous disinfection system.
When shock chlorination isn’t enough
Recurring coliform means the source of contamination hasn’t been eliminated. You have two paths forward.
Path 1: fix the well itself. A licensed well contractor can run a downhole camera to inspect the casing for cracks, check the grout seal, and evaluate whether the well construction meets current standards. If the casing is compromised, they can install a liner, extend the casing, or in severe cases, recommend drilling a new well. Well rehabilitation costs $500-$5,000 depending on what’s wrong. A new well runs $5,000-$15,000+. Neither is cheap, but both permanently fix the problem at the source.
Path 2: install continuous disinfection. If the well structure is sound but bacteria persist (common with aquifer-level contamination), a treatment system handles it at the point of use.
UV disinfection ($600-$1,500 installed) is the most popular option. A UV unit mounts inline after your pressure tank and kills bacteria, viruses, and protozoa with ultraviolet light. No chemicals, no taste change, no waste water. Maintenance is an annual bulb replacement ($50-$80) and occasional quartz sleeve cleaning. The one requirement: the water flowing through it needs to be relatively clear. If your water has high sediment or iron, you’ll need a pre-filter upstream.
Continuous chlorine injection ($500-$1,500+ installed) doses a small amount of chlorine into your water line continuously. Unlike UV, chlorine provides residual disinfection throughout your plumbing — meaning it kills bacteria in your pipes, water heater, and fixtures, not just at the treatment point. The tradeoff is ongoing chemical costs and the need for a carbon filter downstream to remove chlorine taste.
For most homeowners dealing with recurring coliform, UV is the right answer. It’s simpler, cheaper to maintain, and doesn’t change the taste of your water. Chlorine injection makes more sense if you have persistent biofilm in your plumbing or if your water has multiple issues that chlorine also addresses (like iron bacteria or sulfur).
Buying a house with a well?
If you’re in the middle of a real estate transaction and the well tested positive for coliform, don’t walk away automatically. Coliform contamination is common and usually fixable. But do insist on knowing why the well is contaminated before closing. A positive test from a loose well cap is a $40 fix. A positive test from a cracked casing 80 feet underground is a different conversation. Ask for a well inspection by a licensed contractor, not just a retest after shock chlorination.
Health risks: who’s actually at risk
Total coliform bacteria themselves rarely cause illness in healthy adults. They’re a signal, not a threat. The danger comes from what else might be in the water alongside them.
If E. coli is confirmed, the risk is real. Symptoms of waterborne illness include:
- Diarrhea, nausea, vomiting, and abdominal cramps
- Fever and headaches
- In severe cases (especially with pathogenic E. coli strains): kidney failure, jaundice
High-risk groups who should switch to bottled water immediately on any positive coliform result, even without E. coli:
- Infants and children under 5
- Adults over 65
- Pregnant women
- Anyone with a weakened immune system (chemotherapy, HIV/AIDS, organ transplant recipients)
For healthy adults with a total-coliform-only result: you’ve probably been drinking this water for weeks or months without symptoms. The short-term health risk is low. But fix it, because the contamination pathway that let coliform in will eventually let something worse through.
How to prevent future contamination
Once you’ve cleared the bacteria and fixed the entry point, these steps keep it from coming back:
Test annually. A $20-$50 coliform test once a year catches problems early. Test in late spring or early summer when contamination risk is highest. Add it to your annual well maintenance checklist.
Inspect your wellhead every season. Check the cap, check the casing height, check the grading. After any storm that drops more than 2 inches of rain, take a look. It takes 5 minutes.
Keep contaminants away from the wellhead. Maintain at least a 50-foot clear zone around the well — no fertilizer, no pesticides, no animal pens, no fuel storage. The 100-foot minimum separation from septic systems isn’t just a recommendation in most states; it’s code.
Shock chlorinate after any well work. Every time the well is opened for repairs, pump replacement, or inspection, shock chlorinate before putting the system back in service.
Know your well’s age. Wells over 25 years old are significantly more likely to develop casing integrity issues. If your well is in that range and you’re seeing recurring coliform, a downhole camera inspection ($200-$400) can reveal problems you can’t see from the surface.
Your next step: if you haven’t tested your water in the past 12 months, do it this week. A basic coliform test from a state-certified lab costs less than dinner out and tells you whether your well’s defenses are holding. If it comes back positive, you now know exactly what to do. If it comes back clean, put it on the calendar for next year and move on to the rest of your maintenance checklist.
Related guides
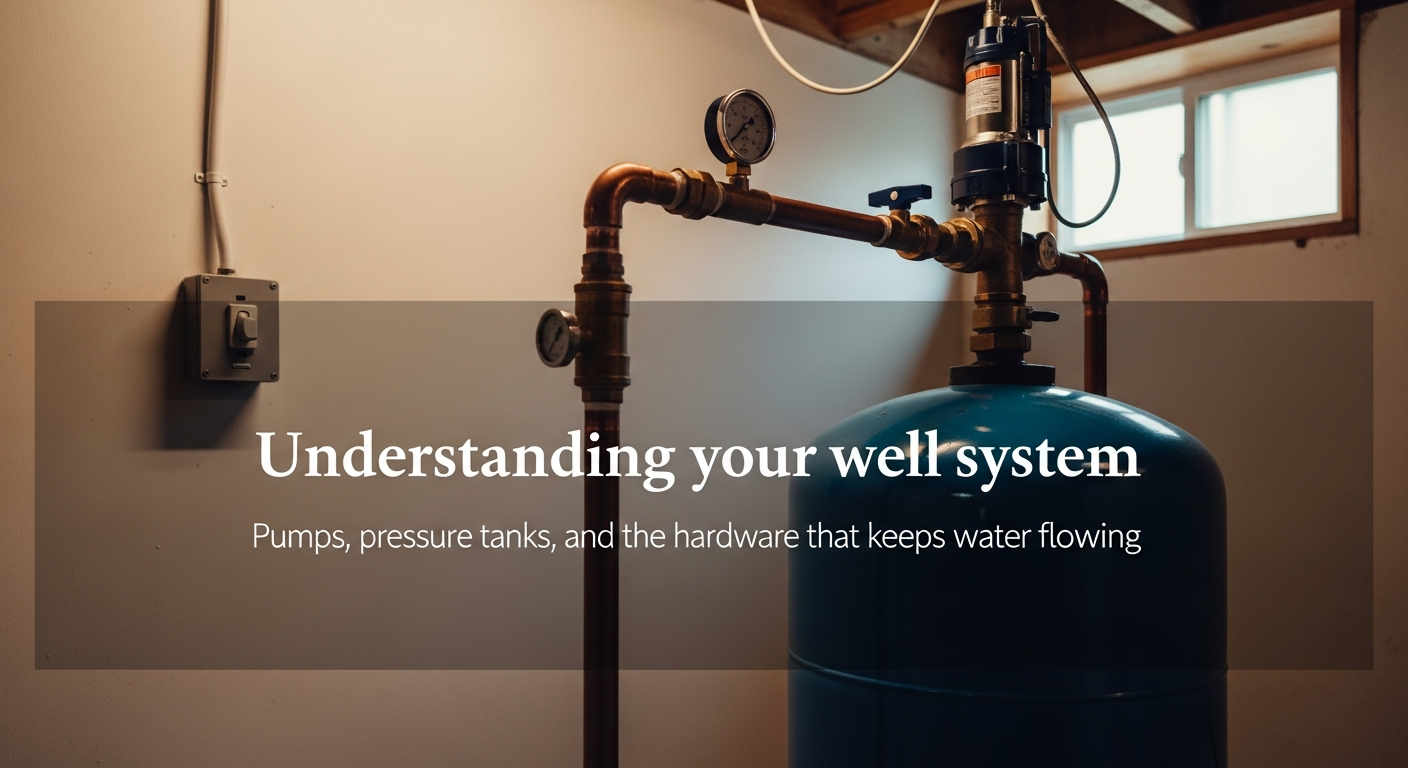
Understanding your well system: pumps, pressure tanks, and the hardware that keeps water flowing
A plain-English technical reference for every major component in a residential well system, from the submersible pump at the bottom to the pressure switch on the wall, with realistic lifespans, costs, and what you can fix yourself.
14 min read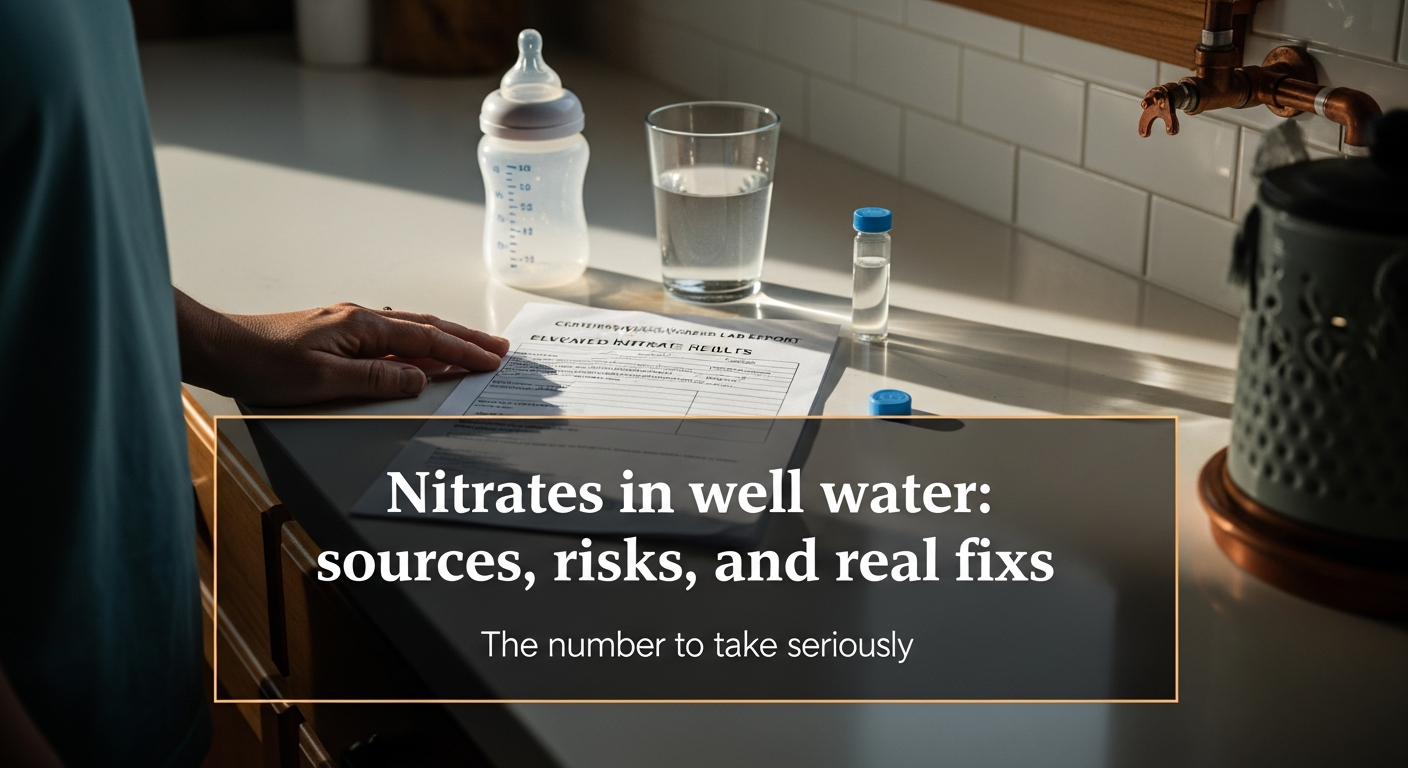
Nitrates in well water: sources, risks, and real fixes
Nitrates in well water are invisible and common in farm country. Here's how to read the lab result, protect infants, and choose treatment that actually removes nitrate.
9 min read
How to choose the right filtration system for your well water
A water-chemistry-first guide to well water filtration by contaminant -- iron bacteria, sulfur, PFAS, manganese, and more. How to test your water, read the results, match each problem to the right filter technology, and build a treatment train that solves your specific issue.
14 min read