The ultimate guide to testing your well water
Updated February 23, 2026 — 14 min read
Nobody regulates your private well. No government agency tests it, monitors it, or sends you a water quality report. The EPA’s Safe Drinking Water Act covers public water systems serving 25 or more people. If your home is on a private well, you’re on your own.
That’s not meant to scare you. It’s meant to make one thing clear: testing is your responsibility, and it’s the single most important thing you can do as a well owner.
I went six years without testing mine. The water looked fine, tasted fine, didn’t smell. Then I bought a Tap Score kit on a whim and discovered my arsenic level was 14 ppb — 40% over the EPA’s maximum contaminant level. Colorless, odorless, tasteless. I’d been drinking it daily for years. That’s the thing about well water: the contaminants that can actually hurt you are the ones you can’t see, smell, or taste.
Here’s everything I’ve learned about testing since then.
What to test for (and how often)
The EPA recommends testing your well at least once a year for four things:
- Total coliform bacteria — indicator organisms that show whether a contamination pathway exists
- E. coli — confirms fecal contamination if present
- Nitrate — dangerous for infants at levels above 10 mg/L (blue baby syndrome)
- pH — affects corrosion, treatment equipment performance, and taste
That’s the minimum. Think of it as checking the smoke detectors. It doesn’t tell you everything, but it catches the most urgent threats.
The standard panel (every 1-3 years)
Beyond the annual basics, test for the contaminants that cause the problems well owners actually complain about:
- Iron (SMCL: 0.3 mg/L) — orange staining on fixtures and ruined laundry
- Manganese (SMCL: 0.05 mg/L) — black staining, metallic taste
- Hardness — scale buildup, soap that won’t lather
- Sulfate (SMCL: 250 mg/L) — bitter taste, laxative effect at high levels
- Total dissolved solids — general water quality indicator
- Copper — blue-green staining from corroded plumbing
These won’t kill you. The EPA calls them “secondary” standards because they affect taste, staining, and odor rather than health. But if your hair feels like straw or your white towels are turning orange, this is the panel that tells you why.
The expanded panel (every 3-5 years, or situationally)
Some contaminants need periodic checking even if they’ve tested clean before:
- Arsenic (MCL: 10 ppb) — naturally occurring in bedrock, especially in New England and the Mountain West
- Lead (action level: 10 ppb as of the 2024 Lead and Copper Rule Improvements) — leaches from old plumbing and solder joints
- PFAS — the EPA finalized the first federal limits in April 2024: 4 parts per trillion for PFOA and PFOS. Standard tests don’t check for these. You need a dedicated PFAS test
- Radon — common in granite bedrock regions, contributes to indoor air radon
- VOCs (volatile organic compounds) — if you’re near industrial sites or gas stations
- Pesticides/herbicides — if you’re near active agriculture
When to test more than once a year
Certain situations call for immediate or more frequent testing:
| Situation | What to test | Why |
|---|---|---|
| After flooding or heavy rain | Bacteria, nitrates | Surface runoff can enter through a compromised well cap or casing |
| New home or first-time well owner | Everything (full comprehensive panel) | You need a baseline and you don’t know the well’s history |
| Near agriculture | Nitrates, pesticides | Fertilizer and chemical runoff infiltrates groundwater |
| Infant or pregnant person in household | Nitrate, lead, bacteria | These contaminants pose the highest risk to vulnerable people |
| After well repairs or pump work | Bacteria | Opening the well can introduce contamination |
| Change in taste, color, or odor | Targeted tests based on the symptom | Something has changed in your groundwater or equipment |
| Near fracking operations | Dissolved solids, methane, metals | Test every 6 months if you’re within 3 miles of a shale gas facility |
| During drought | Arsenic, TDS, minerals | A dropping water table concentrates contaminants |
One timing detail most guides miss: don’t test for bacteria in winter. Cold weather suppresses bacterial counts. A clean winter test can give you false confidence that disappears in June. Test in late spring or early summer for the most accurate bacterial results.

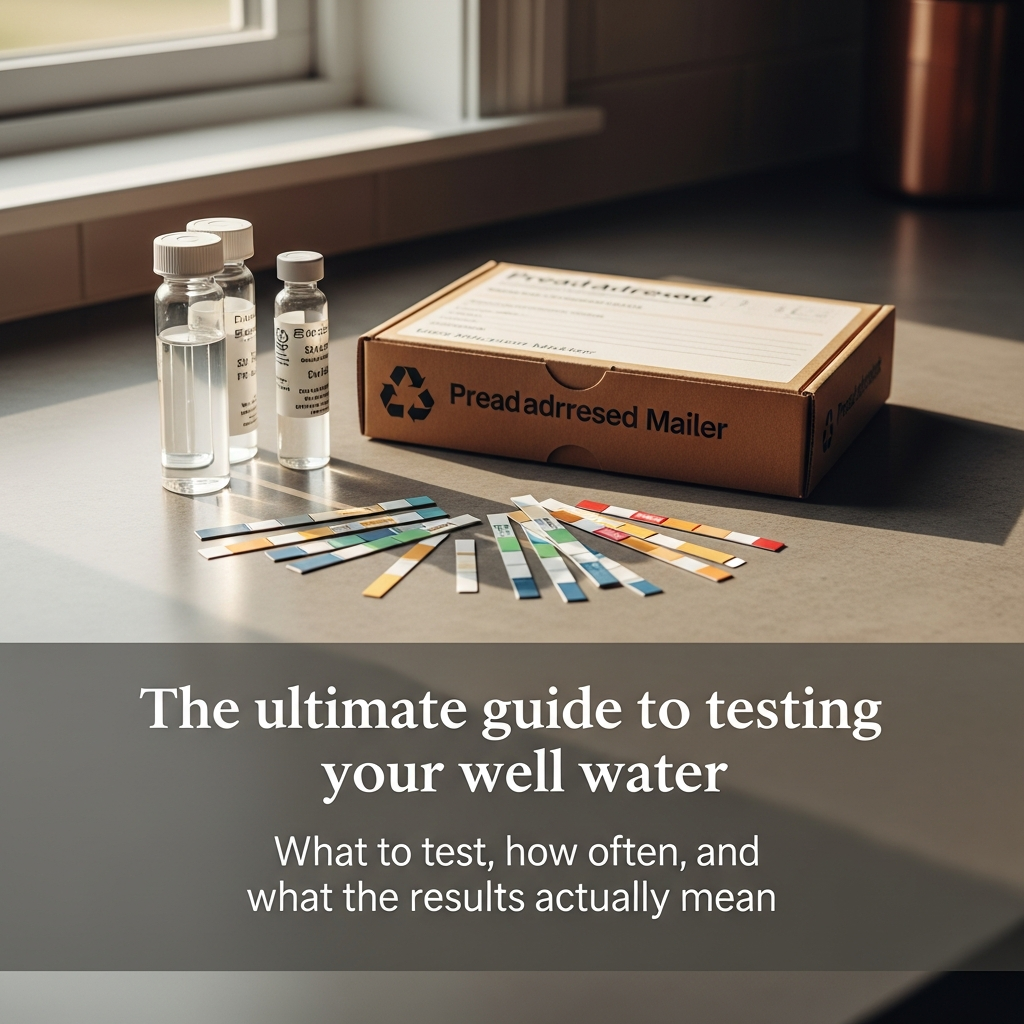
DIY strips vs. mail-in kits vs. certified labs
Not all testing methods are equal, and the differences matter more than you’d think.
DIY test strips ($15-$50)
Strips from brands like Varify or SenSafe check for 15-17 parameters in minutes. They’re cheap and convenient. They’re also not accurate enough for anything that matters for your health.
Independent reviewers have found that some strip kits produce identical readings across water sources with vastly different conditions. The lead readings are especially unreliable. And strips can’t test for arsenic, VOCs, radon, or PFAS at all.
Use strips for one thing: ongoing monitoring of parameters you already know about. If your lab test showed your pH at 7.2 and your hardness at 180 ppm, strips can tell you if those numbers are shifting between annual lab tests. That’s it. Don’t use them to decide whether your water is safe to drink.
Mail-in lab kits ($100-$350)
Services like Tap Score (by SimpleLab) and National Testing Laboratories ship you collection bottles, you fill them following their instructions, and you mail them to a certified lab. Results come back in 3-10 business days depending on the panel.
Tap Score’s Essential Well Water Test starts around $195 and covers bacteria, nitrate, hardness, iron, manganese, pH, and heavy metals. Their Advanced test runs about $290 and adds more parameters. These are real certified labs using EPA-approved methods — the same labs your county health department uses.
The advantage of mail-in kits is convenience plus accredited results. The disadvantage is the shipping window: bacteria samples need to stay cold and arrive at the lab within 24-48 hours. Most kits include overnight shipping for this reason.
Certified local labs ($20-$400+)
Your state certifies laboratories to analyze drinking water. You can find them through the EPA’s certified lab directory or by calling your county health department.
Local labs are often cheaper for individual tests. Some state labs charge as little as $16 for a bacteria test. A basic bacteria-plus-nitrate screen at a county health department typically runs $50-$75. A comprehensive panel through a private certified lab costs $150-$350.
The drawback: you need to collect the sample yourself, transport it to the lab (often in a cooler within a specific time window), and pick up sample bottles in advance. For bacteria, the clock starts the moment you collect. Don’t collect on a Friday afternoon — the lab won’t process over the weekend and your sample will be useless by Monday.
How to find your state’s certified labs
The EPA maintains a directory at epa.gov/dwlabcert. Find your state, and it links to your state’s lab certification program. You can also call your county health department — they’ll point you to the nearest option and may offer subsidized testing.
Skip the “free” tests
If a big-box store or water treatment company offers you a free water test, understand what you’re getting: a sales funnel. The test is limited (usually just hardness and pH), and the recommendation will always involve buying equipment. Get your testing done through independent labs. Make treatment decisions after you have unbiased data.
How to collect a sample without ruining it
Bad technique is the most common reason for false positive bacteria results. One contaminated sample can send you into a cycle of retesting, shock chlorination, and stress — all for nothing.
Here’s the protocol:
- Pick the right faucet. Use a cold water tap (not a bathroom with an aerator clogged with old water). Kitchen faucets work if you remove the aerator first. Aerators harbor bacteria from food particles and give false positives.
- Run the water for 3-5 minutes. You want water from the well, not water that’s been sitting in your pipes.
- Don’t touch anything. Don’t touch the inside of the sample bottle, the inside of the cap, or the rim. Hold the bottle by the outside only.
- Fill to the line. Overfilling or underfilling can affect results, especially for bacteria cultures.
- Keep it cold. Put the sample on ice or in a refrigerator immediately. Bacteria multiply at room temperature, turning a borderline result into a false positive.
- Get it to the lab fast. Bacteria samples need to arrive within 24 hours (48 max). Don’t collect on Fridays. Don’t leave samples in a hot car.
If you do get a positive coliform result, don’t panic. Retest first. False positives from sample contamination are extremely common. If the second test is also positive, then it’s time to investigate your well’s structural integrity and consider shock chlorination.
How to read your test results
Lab reports are full of numbers, abbreviations, and units that mean nothing without context. Here’s how to make sense of them.
The units
- ppm (parts per million) = mg/L. This is the standard unit for most contaminants. One ppm is about 0.03 teaspoons of a substance dissolved in a bathtub of water.
- ppb (parts per billion) = ug/L. One thousand times smaller than ppm. Used for trace contaminants like arsenic and lead.
- ppt (parts per trillion) = ng/L. One thousand times smaller than ppb. Used for PFAS. The EPA’s PFAS limit of 4 ppt is four drops of water in 80 Olympic swimming pools.
MCLs vs. SMCLs: the two types of standards
MCLs (Maximum Contaminant Levels) are health-based standards. Exceeding them means potential health risk. The big ones:
| Contaminant | MCL | What it means if you’re over |
|---|---|---|
| Arsenic | 10 ppb | Cancer risk (bladder, lung, skin) |
| Nitrate | 10 mg/L | Blue baby syndrome risk for infants |
| Lead | 10 ppb (2024 LCRI) | Developmental damage in children |
| Coliform bacteria | Absent | Contamination pathway exists |
| E. coli | Absent | Fecal contamination confirmed |
| PFOA/PFOS | 4 ppt | Liver, immune, and cancer risks |
SMCLs (Secondary Maximum Contaminant Levels) are aesthetic standards — taste, staining, odor. Not health emergencies, but they explain why your water looks, smells, or tastes wrong:
| Contaminant | SMCL | What you’ll notice |
|---|---|---|
| Iron | 0.3 mg/L | Orange staining, metallic taste |
| Manganese | 0.05 mg/L | Black staining, bitter taste |
| pH | 6.5-8.5 | Corrosion (low) or scale (high) |
| Sulfate | 250 mg/L | Bitter taste |
| TDS | 500 mg/L | General off taste |
These MCLs technically apply to public water systems, not private wells. But they’re the best safety benchmarks we have, and the EPA recommends private well owners use them as guidelines.
Reading the bottom line
- “Absent” or “Not Detected” for bacteria: You’re good. This is what you want.
- Below the MCL: Safe for the measured parameter. Keep testing annually to watch for trends.
- Above the MCL: Stop drinking the water. Retest to confirm. If confirmed, consult a water treatment professional — the specific contaminant determines the right filtration approach.
- “ND” or “Non-detect”: The contaminant was below the lab’s detection limit. Best possible result.
- Near the SMCL but under: Explains minor taste or staining issues. Not dangerous, but treatment can improve quality of life.
What your region tells you to test for
Your geology determines your risk profile. A well owner in Maine faces completely different threats than one in Iowa or Florida.
Northeast (ME, NH, VT, MA, CT): Test for arsenic, radon, and uranium. Fractured crystalline bedrock is the source. The USGS estimates 2.1 million Americans drink from wells with arsenic above 10 ppb, and the Northeast is a major hotspot. New Hampshire set its own limit at 5 ppb — stricter than the EPA’s 10.
Midwest (IA, IL, WI, MN, OH, IN): Test for nitrates and radium. Heavy agriculture drives nitrate contamination in shallow wells. Illinois and Iowa have significant naturally occurring radium.
Southeast/Florida: Test for hydrogen sulfide (the rotten egg smell), bacteria, and radionuclides. Florida’s limestone geology makes sulfur nearly universal.
Southwest/Mountain West: Test for arsenic, uranium, fluoride, and high TDS. Arid groundwater concentrates minerals naturally.
Near military bases or airports anywhere: Test for PFAS. These sites used AFFF firefighting foam containing PFAS for decades.
Your testing schedule, simplified
Here’s what I’d recommend based on everything I’ve learned:
Every year (spring/early summer): Bacteria, nitrate, pH. Budget: $50-$75 at a local lab.
Every 2-3 years: Standard panel adding iron, manganese, hardness, TDS, sulfate. Budget: $100-$200.
Once, then every 5 years: Expanded panel with arsenic, lead, and any region-specific contaminants. Budget: $200-$400.
Once (if you’ve never done it): PFAS test, especially if you’re within 10 miles of a military base, airport, or industrial zone. Budget: $250-$400 for a dedicated PFAS panel.
Immediately after: Flooding, well repairs, taste/color/odor changes, or adding a baby to the household.
Total cost to know your water is safe: roughly $150-$300 per year. That’s less than most people spend on bottled water, and it covers every faucet in your house.
Once you know what’s in your water, the next step is deciding what to do about it. If your results are clean, keep testing on schedule and move on with your life. If something shows up, start with the filtration system guide to match the right treatment to your specific contaminant. Throwing money at the wrong filter is an expensive mistake I’ve made, and one that testing prevents.
Related guides

Why well water turns blonde hair green (and how to fix it)
Copper in well water bonds to bleached and blonde hair, turning it green. Here's the science behind it, how to strip the green out, and how to stop it from coming back.
9 min read
Removing orange iron stains from white laundry
Iron in well water oxidizes during the wash cycle and deposits rust on fabric. Here's why bleach makes it worse, which products actually remove the stains, and how to stop them permanently.
9 min read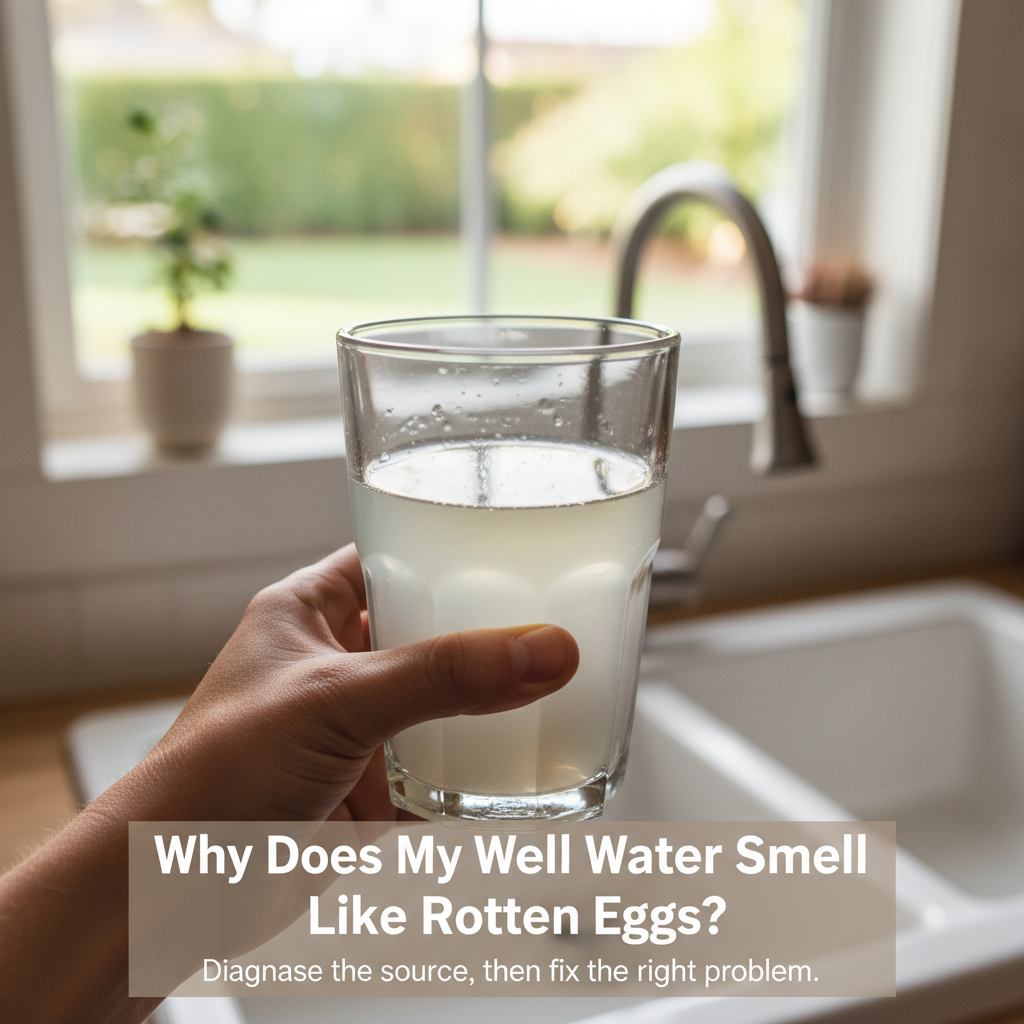
Why does my well water smell like rotten eggs? (and how to fix it)
Hydrogen sulfide causes that rotten egg smell in well water. Here's how to diagnose whether it's sulfur bacteria, your water heater anode rod, or your well itself -- and the treatment that actually fixes each one.
10 min read