How to shock chlorinate a well: the complete protocol
Updated February 18, 2026 — 12 min read
Short answer: Mix 3 pints of plain, unscented household bleach per 100 gallons of water in your system, pour it into the well, recirculate with a garden hose for 15-30 minutes, run every faucet until you smell chlorine, then let everything sit for 12-24 hours. Flush outdoors, retest in 7-14 days.
That’s the summary. But getting the details wrong can waste your time, damage your equipment, or leave bacteria alive and well (pun intended) in your plumbing. Here’s how to do it right.
When you actually need to shock chlorinate
Shock chlorination isn’t a routine chore like changing your pressure tank air charge or checking your well cap. It’s a targeted disinfection procedure for specific situations:
- A positive coliform or E. coli test. This is the most common trigger. Your annual water test comes back with bacteria, and your county health department tells you to shock the well. About 35% of private wells in some states test positive for coliform bacteria, according to Penn State Extension research, so you’re not alone.
- New well construction. Every newly drilled well gets shocked before first use. No exceptions.
- After well repairs. Any time the casing was opened, a new pump was installed, or plumbing exposed the system to outside air.
- After flooding. If surface water may have entered your well during a flood or heavy runoff event.
- Extended disuse. A well that’s been sitting idle for months can develop bacterial growth.
One thing shock chlorination does not fix: chemical contaminants like nitrates, arsenic, or PFAS. Chlorine kills bacteria. It doesn’t filter chemicals.
Gather your supplies first
Don’t start pouring bleach until you have everything ready. You’ll need:
- Plain, unscented household bleach. Check the label for sodium hypochlorite concentration. Standard bleach is 5.25%, but many brands now sell 8.25%. Either works; you just need different amounts. Do not use splashless bleach (too weak), scented bleach, or anything with added detergent.
- A clean 5-gallon plastic bucket for mixing.
- A garden hose long enough to reach from an outdoor faucet back to the wellhead.
- A funnel for pouring into the casing.
- Chemical splash goggles and rubber gloves. Concentrated bleach solutions are corrosive. This isn’t a suggestion.
- 12-24 hours of alternate drinking water. You won’t be using your tap during treatment.
- A chlorine test strip or kit (optional but helpful for verifying levels during flushing).
Calculate how much bleach you need
This is where most people go wrong. Too little bleach and the bacteria survive. Too much and you’re flushing for days. Worse, exceeding 200 parts per million (ppm) actually reduces disinfection effectiveness, according to the Minnesota Department of Health. Aim for 100-200 ppm.
You need to know two things: your well casing diameter and the depth of standing water.
Water volume by casing diameter
| Casing diameter | Gallons per foot of water |
|---|---|
| 4 inch | 0.65 |
| 6 inch | 1.47 |
| 8 inch | 2.61 |
| 10 inch | 4.08 |
| 12 inch | 5.88 |
Example: You have a 6-inch casing with 120 feet of standing water. That’s 1.47 x 120 = 176 gallons in the well casing alone.
But you’re not just disinfecting the well. You need to account for:
- The pressure tank (check the nameplate; typically 20-80 gallons)
- Your water heater (usually 40-80 gallons)
- All household plumbing (estimate 100-150 gallons for an average home)
Add those together. A typical system with 176 gallons in the well, a 40-gallon pressure tank, a 50-gallon water heater, and ~120 gallons in plumbing totals roughly 386 gallons.
Bleach amounts
For standard 5.25% bleach: use 3 pints per 100 gallons of total system water.
For 8.25% bleach: use 2 pints per 100 gallons.
Using our 386-gallon example with 5.25% bleach: 3.86 x 3 = roughly 11.5 pints (about 1.4 gallons) of bleach.
If you don’t know your standing water depth, call your well driller. They keep records. Or check your well system documentation for pump depth and static water level.
The protocol, step by step
Preparation (30 minutes)
1. Bypass or disconnect all water treatment equipment. Carbon filters, reverse osmosis units, UV systems, water softeners. High chlorine concentrations will destroy carbon media, damage RO membranes, and exhaust softener resin. If your filtration system has a bypass valve, use it. If not, disconnect the lines.
2. Turn off the circuit breaker for your well pump. You’ll be removing the well cap, and you don’t want electrical surprises.
3. Remove the well cap. If your well cap is damaged or loose, now is a good time to replace it. A cracked cap is often how bacteria got in there in the first place.
4. Optional but smart: drain your water heater. Open the drain valve at the bottom and flush out sediment. Bacteria love hiding in sediment. This takes 10-15 minutes and makes the shock treatment more effective.
Chlorine application (45-60 minutes)
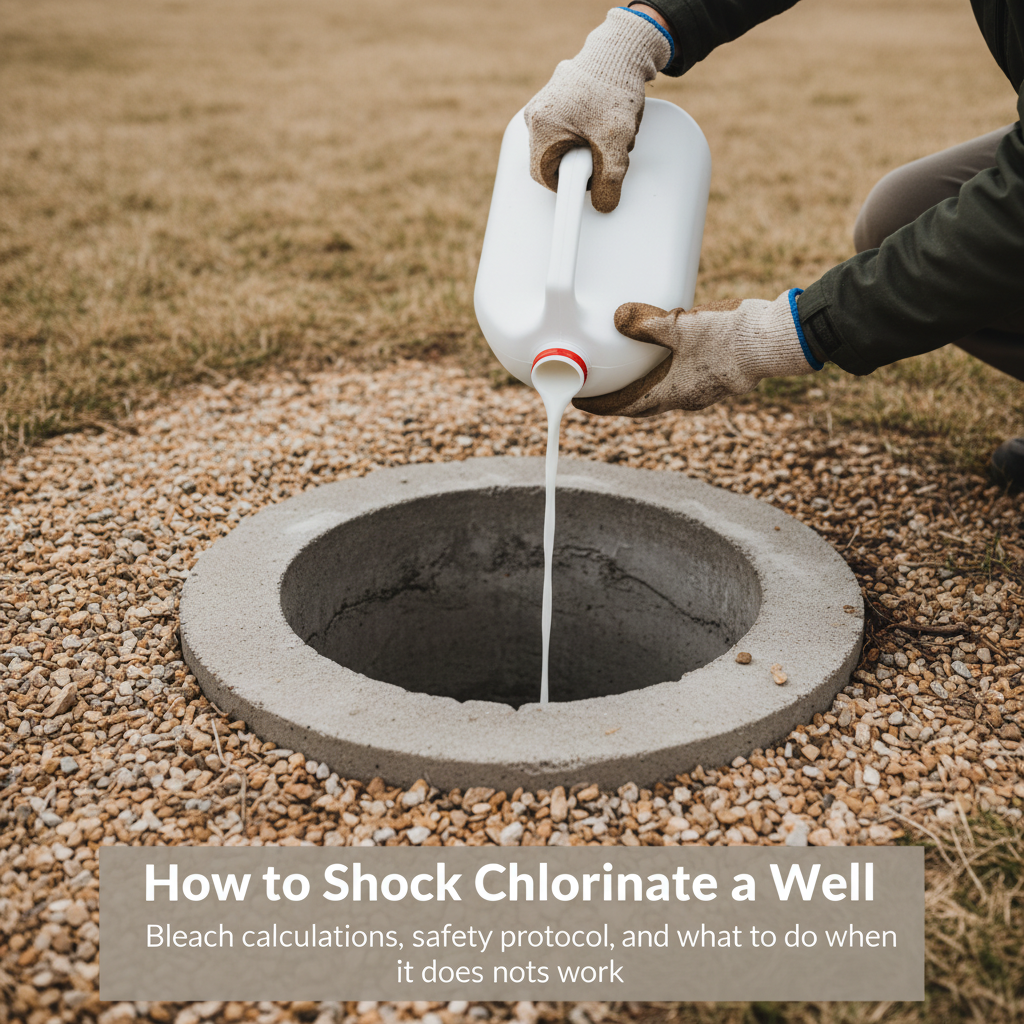
5. Mix the bleach with water in your 5-gallon bucket. Don’t pour straight bleach into the well. Dilute each batch in a few gallons of clean water, then pour the mixture down the casing using a funnel. You may need multiple batches.
6. Recirculate to wash the casing walls. Turn the pump breaker back on. Connect a garden hose from your nearest outdoor faucet and run it back into the open well casing. Let this run for at least 15-30 minutes. The recirculation does two things: it washes chlorinated water down the inside walls of the casing (where biofilm grows), and it mixes the chlorine throughout the water column.
You’ll smell the chlorine getting stronger as it circulates. Good. That means it’s working.
7. Open every faucet in the house, one at a time. Start with the faucet closest to the well and work outward. Run both hot and cold until you smell chlorine at each tap, then shut it off. Hit everything:
- Kitchen and bathroom sinks
- Showers and tubs
- Flush every toilet
- Outdoor hose bibs
- Washing machine connections
- Refrigerator water line (if applicable)
Run hot water long enough to pull chlorinated water into the water heater tank. This is the step people skip, and it’s why bacteria come back.
8. Turn off the pump breaker again. Replace the well cap securely.
The wait (12-24 hours)
9. Do not use any water for at least 12 hours. 24 hours is better. Start the process in the evening and let it sit overnight into the next day. Chlorine needs time to kill bacteria throughout the system.
During this time, use your stored alternate water for drinking, cooking, and brushing teeth.
Flushing (1-3 hours)
10. Flush outdoors first. Run a garden hose to a gravel driveway, an unused area of your yard, or any spot away from plants, gardens, and surface water. Run it until the chlorine smell fades. This can take an hour or more depending on your well’s yield.
Where NOT to discharge chlorinated water:
- Your septic system (limit to under 100 gallons total). Chlorine kills the beneficial bacteria that make your septic system work. Destroying that bacteria is a separate, expensive problem you don’t want.
- Streams, ponds, or any surface water body.
- Gardens, lawns, or near trees (chlorine kills plants).
11. Flush indoor fixtures. Once outdoor flushing is mostly done and the chlorine smell is faint, open each indoor faucet and run until chlorine-free. Don’t forget to run the hot water long enough to flush the entire water heater.
Post-treatment testing
12. Wait 7-14 days before testing. You need residual chlorine to fully dissipate. Labs will reject samples that contain any detectable chlorine.
13. Collect a sample and send it to a state-certified lab. Test for total coliform bacteria and E. coli. Your county extension office can point you to local labs, or use a mail-in service like Tap Score or SimpleLab.
14. Do not drink the water until results come back clean. Use bottled or stored water in the meantime.
15. Retest in 2-3 months. A single clean result is encouraging, but a second clean result 2-3 months later confirms the treatment worked long-term.
What if it doesn’t work?
Here’s the uncomfortable truth: Penn State Extension research found that shock chlorination has roughly a 15% long-term success rate for keeping wells bacteria-free for a full year. That number surprised me too.
Shock chlorination works best when:
- The coliform count was low (fewer than 10 colonies per 100 mL)
- No E. coli was present (just total coliform)
- The contamination source was a one-time event (like a repair or flood)
If your first shock treatment fails, try it once more. The second attempt sometimes succeeds where the first didn’t, particularly if you’re more thorough with recirculation and making sure every fixture gets treated.
But if bacteria come back after a second shock treatment, stop pouring bleach. You have a structural problem. Common culprits:
- A cracked or deteriorated well casing. Groundwater from shallow, contaminated zones seeps into the well. A casing inspection or extension may fix it.
- A damaged or missing well cap. Insects, rodents, and surface water get in through the top. Replace the cap.
- Insufficient casing height. If your casing doesn’t extend high enough above grade, surface runoff enters the well. Extending the casing solves this.
- Deteriorated grout or casing seal. The annular seal between the casing and the borehole has failed, allowing surface water to migrate down alongside the casing.
- Aquifer-level contamination. If the bacteria are in the groundwater itself, no amount of chlorine will keep them out. The water supply is contaminated at the source.
Permanent treatment alternatives
When shock chlorination can’t solve the problem, you need continuous treatment:
UV disinfection is the most popular choice among well owners I’ve talked to. A UV unit installs inline after your pressure tank and kills bacteria with ultraviolet light as water flows through. No chemicals, no taste change, minimal maintenance beyond an annual bulb replacement. The catch: UV requires clear water to work. If your water is turbid or has high iron, you’ll need pre-filtration upstream.
Continuous chlorine injection is what municipal water systems use, scaled down for residential. A chemical feed pump doses small amounts of chlorine into your water continuously. This provides residual disinfection throughout your plumbing, which UV doesn’t. The downside is ongoing chemical costs and more maintenance. You may also need a carbon filter downstream to remove chlorine taste and smell.
Hydrogen peroxide injection is a newer option that kills bacteria without leaving chemical residue. It also helps with iron and sulfur, so if your well has multiple issues, this can address several at once.
For help picking the right long-term solution, start with a comprehensive water test so you know exactly what you’re dealing with.
Common mistakes that waste your time
Using the wrong bleach. Splashless, scented, or bleach with added cleaners won’t work. Check the label. Plain, unscented, 5.25% or 8.25% sodium hypochlorite. Nothing else.
Using old bleach. Sodium hypochlorite degrades over time, especially in heat. If your bleach has been sitting in the garage for two years, buy a fresh bottle. It costs $4.
Skipping the recirculation step. Pouring bleach down the well and walking away leaves the casing walls untreated. Biofilm on those walls is where bacteria live. The garden-hose recirculation step isn’t optional.
Not running every fixture. That guest bathroom you never use? It’s got standing water in the pipes that bacteria love. Every single tap, toilet, and water connection needs to see chlorine.
Dumping all the flush water into your septic system. Limit chlorinated water going to your septic to under 100 gallons. Route the bulk of your flushing through an outdoor hose to a safe discharge area.
Testing too soon. If you collect a water sample while chlorine residual is still present, the lab will either reject it or return meaningless results. Wait at least 7 days after flushing, and use a test strip to confirm chlorine is undetectable before collecting your sample.
Add it to your maintenance calendar
Even if shock chlorination works perfectly, add annual coliform testing to your maintenance routine. Bacteria can reappear at any time, and you want to catch it early rather than finding out when someone gets sick.
If your well is in a flood-prone area or your casing is older, keep a gallon of fresh, unscented bleach and a set of gloves on hand. When you need to shock a well, you don’t want to be running to the store.
Your next step: if you haven’t tested your water recently, start there. A $30 coliform test tells you whether you even need to do any of this. No point shock chlorinating a well that isn’t contaminated.
Related guides
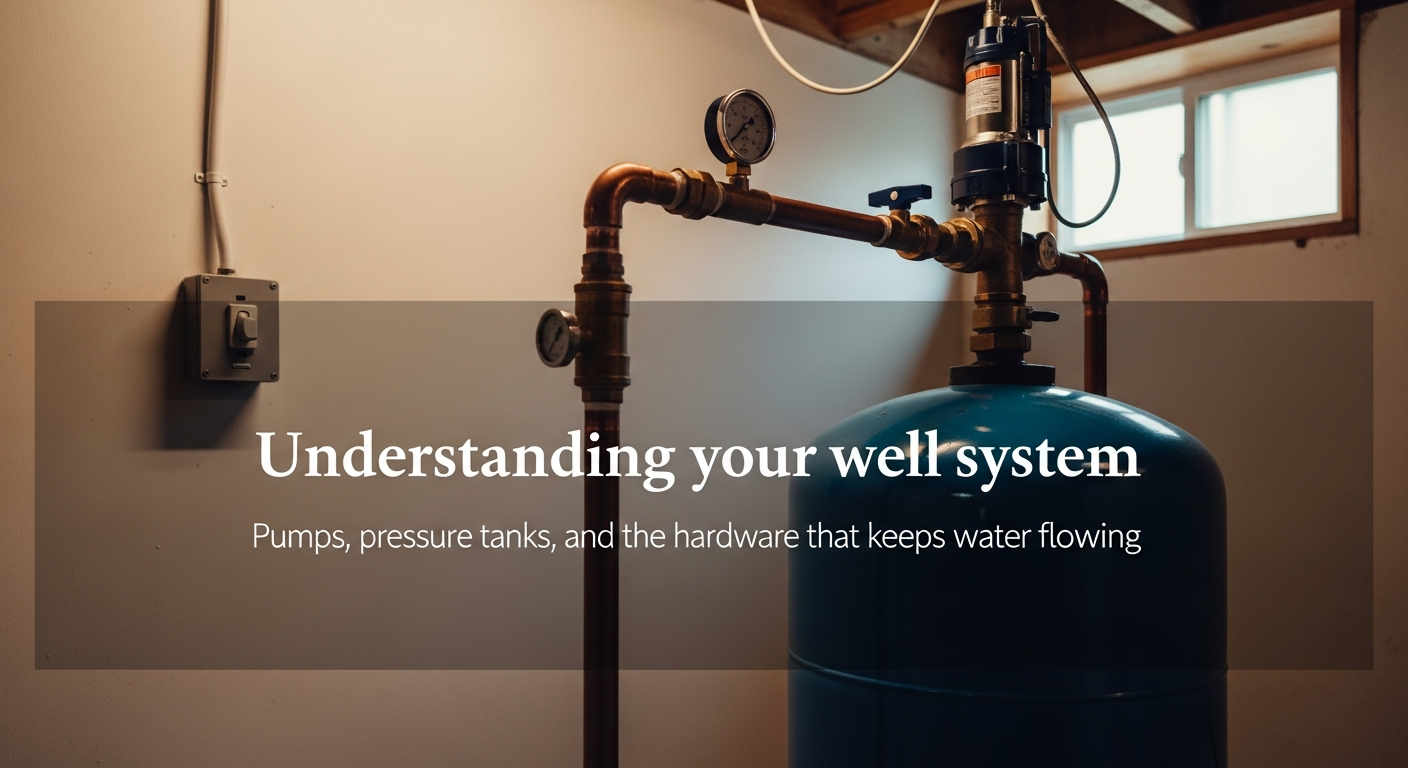
Understanding your well system: pumps, pressure tanks, and the hardware that keeps water flowing
A plain-English technical reference for every major component in a residential well system, from the submersible pump at the bottom to the pressure switch on the wall, with realistic lifespans, costs, and what you can fix yourself.
14 min read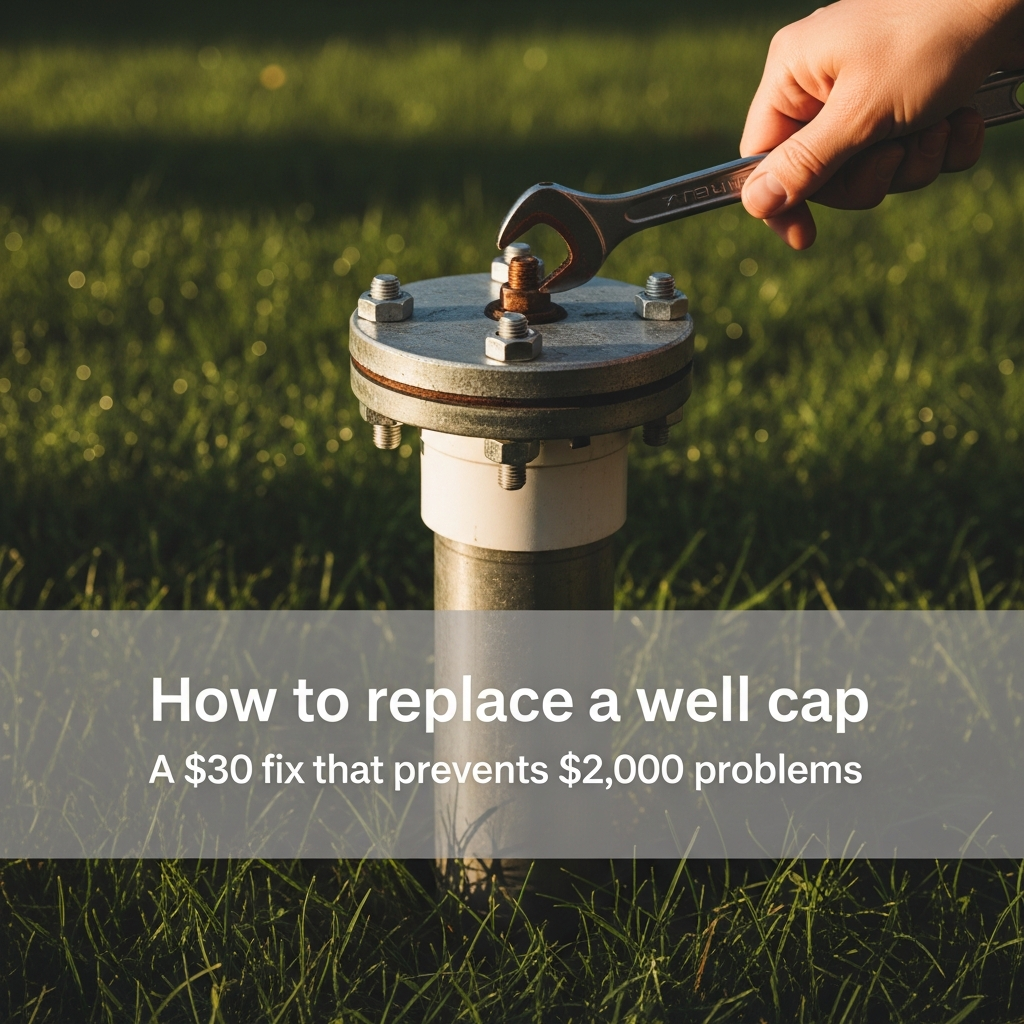
How to replace a well cap (and why a damaged cap is an emergency)
A cracked or loose well cap is the most common pathway for bacteria, insects, and surface water to enter your well. Here's how to inspect yours, measure for a replacement, and install it yourself.
6 min read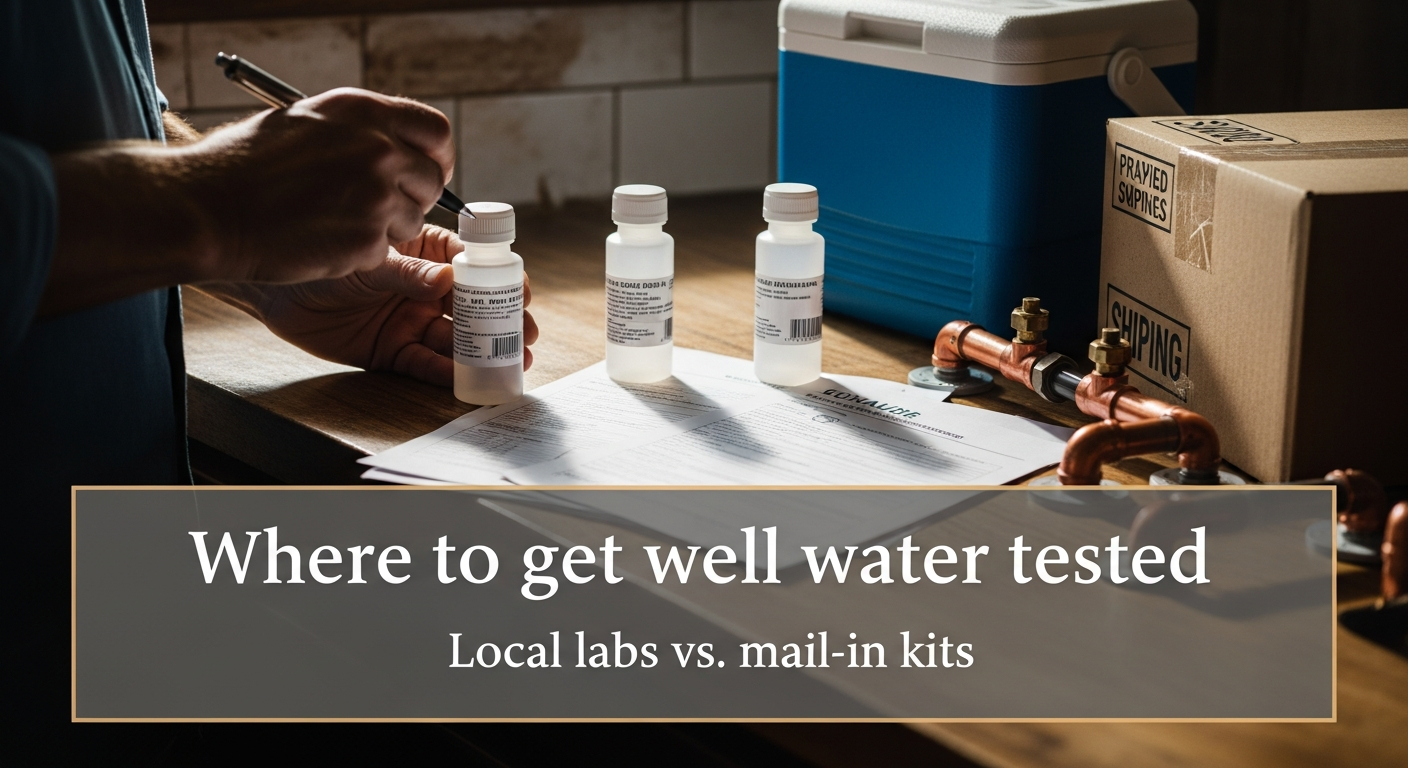
Where to get well water tested: local labs vs. mail-in kits
Use a local certified lab for bacteria samples, real estate deadlines, and local guidance. Use a mail-in kit for convenience and broad baseline screening.
8 min read