Pressure tank air charge: how to check it and why it matters
Updated February 14, 2026 — 6 min read
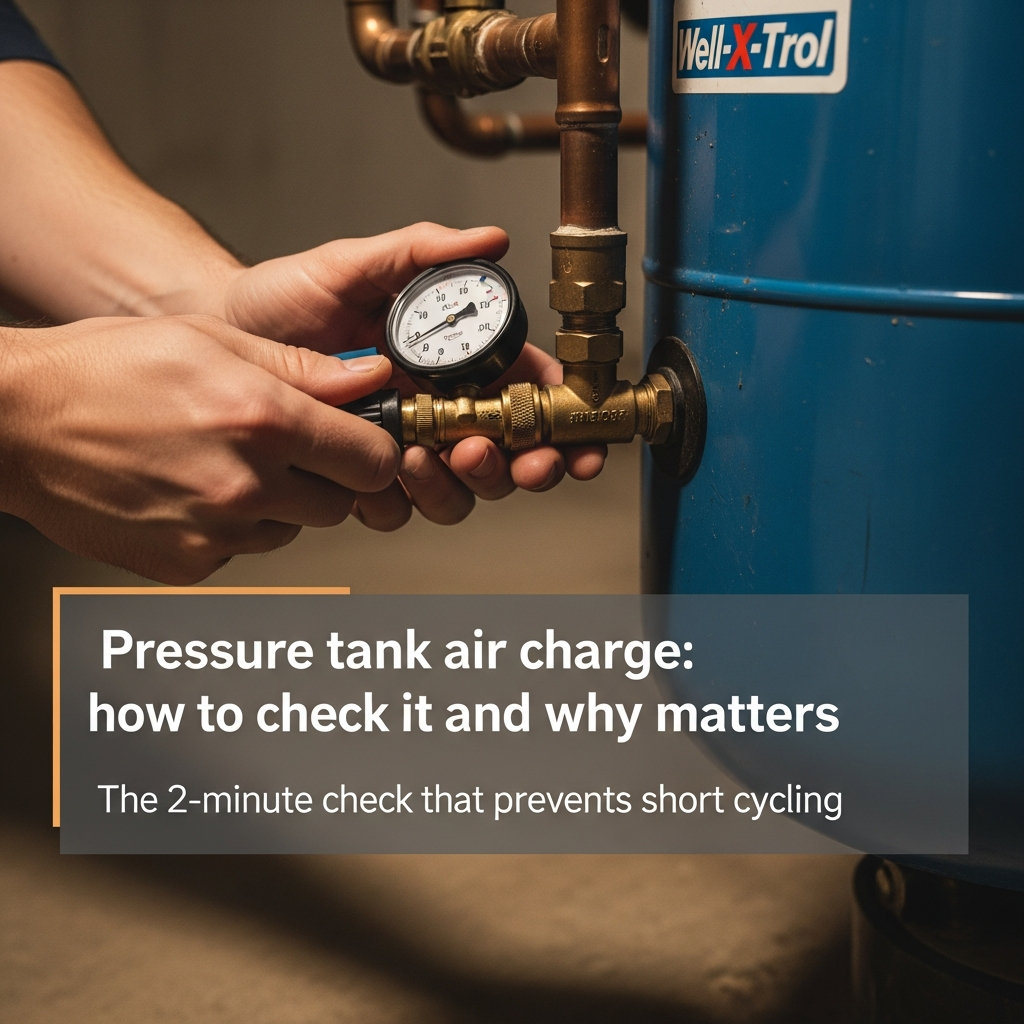
Your pressure tank’s air charge should be set to 2 PSI below your pressure switch’s cut-in setting — 28 PSI for a 30/50 switch, 38 PSI for a 40/60 switch. You check it with a standard tire gauge on the Schrader valve at the top of the tank, but only after you’ve turned off the pump and drained the tank completely. Checking it with water still in the tank gives you a false reading that’s useless for diagnosis.
That’s the whole procedure. Two minutes, a tire gauge, and zero dollars. But this one check is the single most common fix for short cycling, pressure fluctuations, and that annoying pump kicking on every time someone flushes a toilet.
What the air charge actually does
Inside your pressure tank is a rubber bladder. Water from the well fills one side of the bladder. Compressed air fills the other side. When you open a faucet, the air pushes the water out, delivering steady pressure without the pump running.
The air charge is what creates that push. Without enough air pressure, the bladder collapses against the tank wall, water fills the entire tank, and there’s no cushion left. The pump has to kick on the instant anyone turns on a faucet — and kick off a few seconds later when the tank is full. That’s short cycling, and it’s the number one killer of well pump motors.
If you’re hearing your pump run in short bursts every 10 to 30 seconds, a low air charge is the first thing to check. For a deeper look at how your pressure tank, pump, and pressure switch work together, the well pump and pressure tank guide covers the full system.
What you need
You probably own everything on this list already:
- Tire pressure gauge — a basic analog gauge works fine. Digital is slightly easier to read. Either way, make sure it reads at least 0 to 60 PSI.
- Bicycle pump or small air compressor — only needed if the charge is low. A 12V tire inflator works too.
- Garden hose (optional) — for draining the tank to a floor drain or outside. You can also just open a basement faucet.
That’s it. No special tools. No well pump experience required.
Step-by-step: checking the air charge
Step 1: Turn off the pump
Flip the breaker for your well pump circuit. This is usually a double-pole (240V) breaker labeled “well pump” in your electrical panel. You don’t want the pump refilling the tank while you’re trying to drain it.
Step 2: Drain the tank
Open a faucet (a basement utility faucet or outdoor hose bib works best) and let the water run until it stops completely. You need the tank empty. This usually takes 2 to 5 minutes depending on your tank size.
You’ll know the tank is drained when the faucet stops producing water and the pressure gauge on your tank reads 0 PSI, or close to it.
Step 3: Check the air charge
Find the Schrader valve on top of your pressure tank. It looks exactly like a tire valve and has a plastic or metal cap over it. Remove the cap, press your tire gauge against the valve, and read the pressure.

Step 4: Compare to your target
Your air charge should be 2 PSI below your pressure switch’s cut-in setting:
| Pressure switch setting | Cut-in pressure | Target air charge |
|---|---|---|
| 30/50 | 30 PSI | 28 PSI |
| 40/60 | 40 PSI | 38 PSI |
| 20/40 | 20 PSI | 18 PSI |
If you don’t know your pressure switch setting, look at the numbers stamped on the switch itself (it’s the small gray box mounted on a pipe tee near your tank). Most residential systems are 30/50 or 40/60.
Step 5: Add air if it’s low
If the gauge reads below your target, use a bicycle pump or compressor to add air through the Schrader valve. Add air in short bursts, checking the gauge between each burst. Overshoot by a pound, bleed a little off. It’s the same process as inflating a car tire.
Step 6: Restore the system
Close the faucet you opened in Step 2. Flip the well pump breaker back on. The pump will run to refill the tank. Once the pressure gauge on the tank reaches the cut-out pressure (50 or 60 PSI, depending on your switch), the pump should shut off and stay off until you use water again.
If the pump shuts off cleanly and doesn’t kick back on for at least a minute after a toilet flush, you’re done.
The biggest mistake: checking with water in the tank
Here’s the error that trips up most homeowners and even some plumbers. If you press a tire gauge against the Schrader valve while the tank is still full of water, you’ll get a reading — but it’s the system pressure pushing back against the gauge, not the actual air charge.
A tank with a failed bladder and zero air charge will still show 30 or 40 PSI on the gauge if the system is pressurized. You’ll think the air charge is fine. It’s not. You just measured the water pressure, not the air charge.
The tank must be empty. Always drain first, then check. This is the step that separates an accurate diagnosis from a wasted afternoon.
If the tank won’t hold air
You add air, the gauge reads the correct pressure, but a week later the pressure is low again. Or you press the Schrader valve and water sprays out instead of air. Both of these mean the same thing: the bladder inside the tank has failed.
A ruptured bladder lets water flood the air side of the tank. Once that happens, no amount of air will fix it. The bladder in a residential pressure tank is not replaceable — you replace the entire tank.
A new bladder-type pressure tank costs $200 to $600 depending on size, and a tank swap is a realistic DIY project. It’s threaded plumbing connections, no electrical work. Drain the old tank, disconnect it, connect the new one, set the air charge before filling it with water, and turn the pump back on.
If your tank is older than 10 to 12 years and the bladder has failed, don’t be surprised. That’s a normal lifespan. When you install the new tank, set the air charge before you connect it to the plumbing — it’s easier to get an accurate reading on a brand-new, empty tank.
How often to check
Twice a year is the standard recommendation from both Amtrol (Well-X-Trol) and Flexcon Industries. Spring and fall works well — tie it to your annual well maintenance checklist and it becomes routine.
Some tanks slowly lose air charge over time, especially older ones where the Schrader valve core has started to leak. If you find yourself adding air more than once a year, replace the valve core (it’s the same part as a tire valve core, available at any auto parts store for under $2) or start budgeting for a new tank.
Quick reference
Write your target air charge on a piece of tape and stick it on the tank. “28 PSI” or “38 PSI” — whatever matches your switch. You won’t have to look it up next time, and anyone who works on your system will know the correct setting at a glance.
When a low air charge isn’t the problem
You checked the air charge, it’s correct, and the pump is still short cycling. That points to a different issue. A few possibilities:
- The pressure switch contacts are pitted or burned. The switch can’t hold the circuit, so it chatters on and off. A new switch is $20 to $40.
- A check valve has failed. Water drains back down the well after the pump shuts off, dropping tank pressure immediately. The pump kicks back on to refill.
- The pump is weak. If the pump can’t reach cut-out pressure, the switch never turns it off. This is the expensive diagnosis — but check the cheap stuff first.
The well water troubleshooting guide walks through the full diagnostic sequence for each of these.
Your next step
Go check the air charge. Right now, if you can. Flip the breaker, drain the tank, press the tire gauge against the Schrader valve, and see what it reads. If it’s more than 2 PSI off from where it should be, you just found your problem — and you fixed it for free.
Related guides
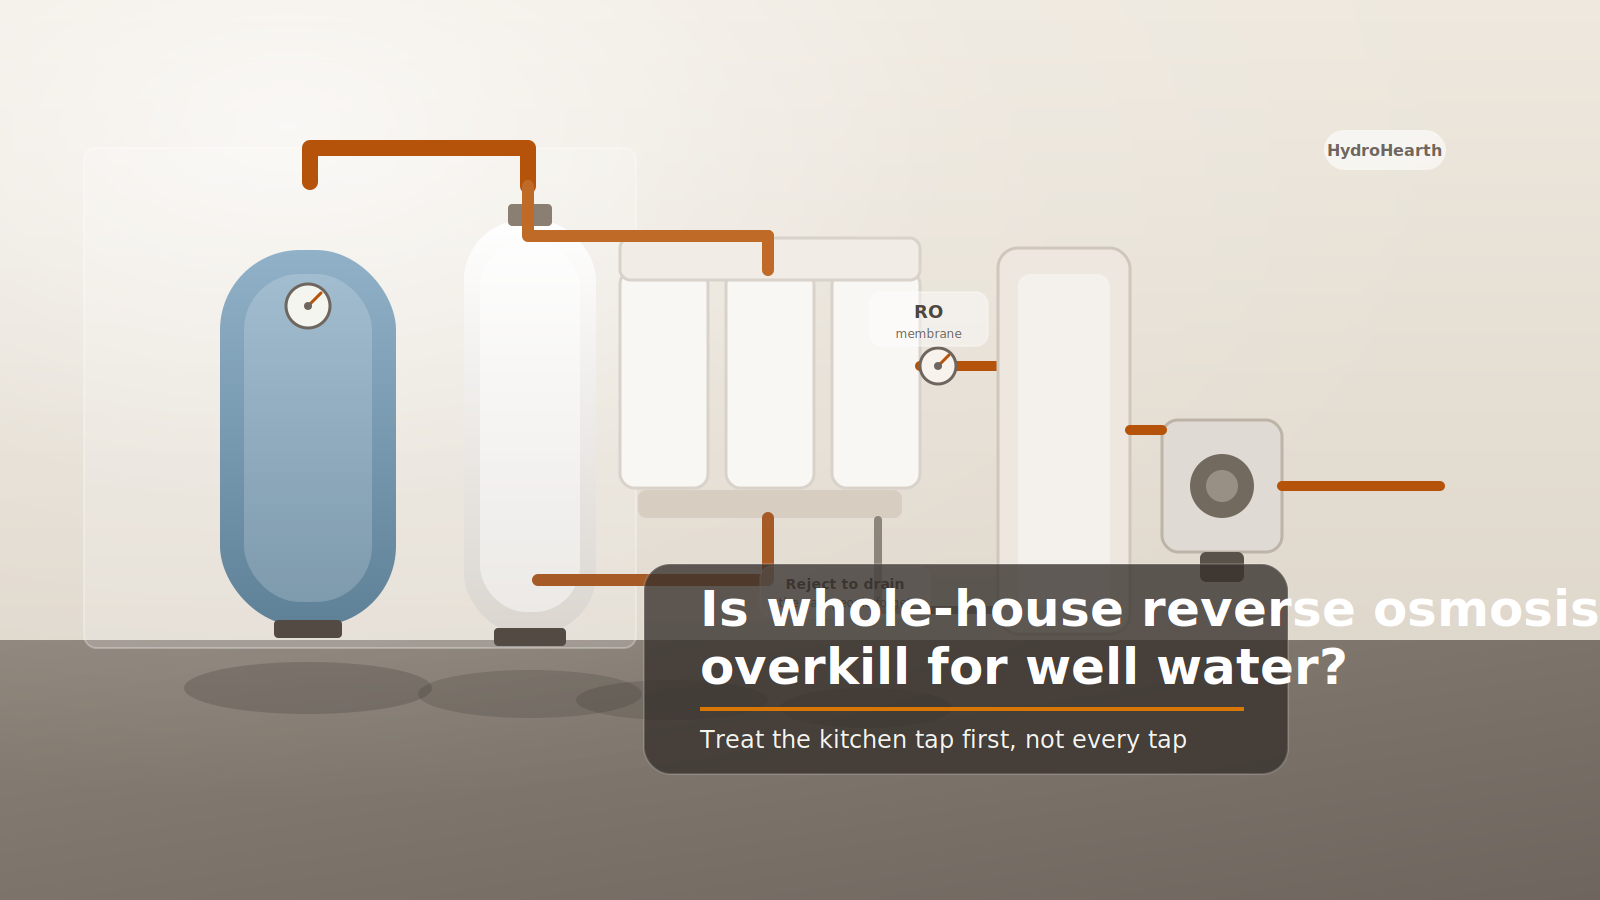
Is whole-house reverse osmosis overkill for well water?
Whole-house reverse osmosis makes sense on a few bad wells, but for most homes it is an expensive, high-waste answer to a one-tap problem.
7 min read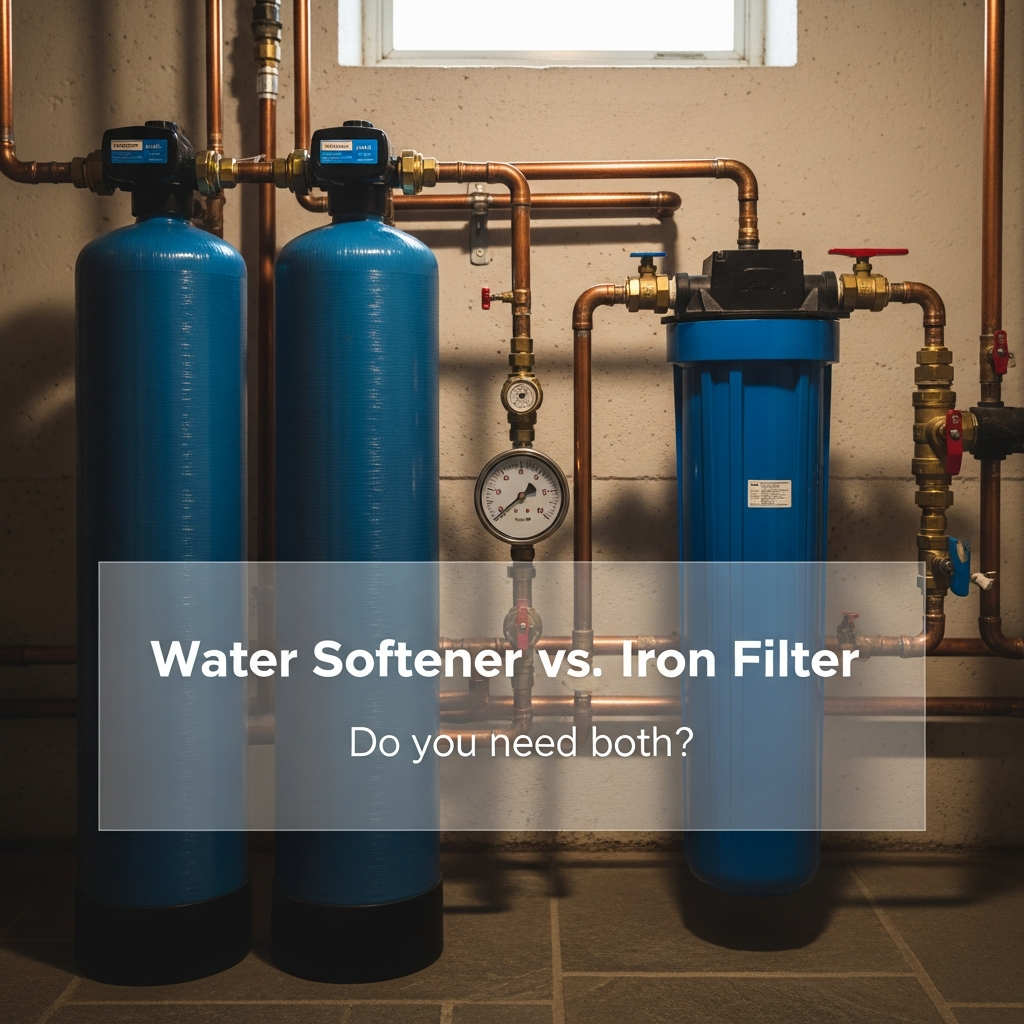
Water softener vs. iron filter: do you need both?
Softeners remove hardness but foul when iron exceeds 1 ppm. Iron filters oxidize iron but ignore hardness. Here's how to tell which you need -- or whether you need both.
10 min read
Buying a house with a private well: the inspection checklist
What to inspect, test, and negotiate before closing on a home with a private well. Flow rates, water quality, pump age, septic distances, and the contingency clause that protects you.
12 min read